
If you’ve been struggling with a greasy and sensitive scalp, this DIY solid shampoo bar might just become your new favorite haircare essential. I’ve been using it for a long time and I absolutely love how it leaves my hair clean, fresh and lightweight, without the itchiness or irritation I used to get from commercial shampoos (even if they were natural).
This shampoo bar has a delicate Ayurvedic herbal scent, lathers beautifully and lasts a long time. On top of that, you can get creative with molds or hand-shape it into a unique bar.
Let’s see together why this shampoo bar works so well and how you can easily make it at home!
Why This Solid Shampoo Bar Works
1. Deep Cleansing Without Stripping
Many shampoos can be too harsh (even if natural), stripping the scalp of its natural oils and causing irritation. I know this first hand because I struggled for a long time with commercial "natural" shampoos that left my scalp itchy and unbalanced. This bar gently cleanses with a blend of mild yet effective surfactants that remove excess oil while keeping your scalp balanced.
- SCI (Sodium Cocoyl Isethionate) – My favorite surfactant! It’s gentle, conditioning and creates a rich, creamy lather. Also, it has an ideal pH, so you won’t probably need to adjust the pH of your formula if you use it as the main surfactant. I also love using it in bath bombs because I can really feel its mildness and conditioning effect compared to other surfactants that can leave the skin feeling dry.
- SLSA (Sodium Lauryl Sulfoacetate) – Another mild surfactant that boosts foam and enhances the cleansing power.
- Decyl Glucoside – A super mild surfactant that stabilizes the foam and makes the bar even more gentle.
These three together ensure a deep cleanse without over-drying, making the bar perfect for an oily yet sensitive scalp.
I personally love when shampoo bars create a good amount of foam, as it helps me see where I'm applying the shampoo and ensures I rinse everything out properly. With low-foam shampoos, I always feel like I might be leaving some product behind, and it's easy to get that "dirty hair" effect once your hair dries.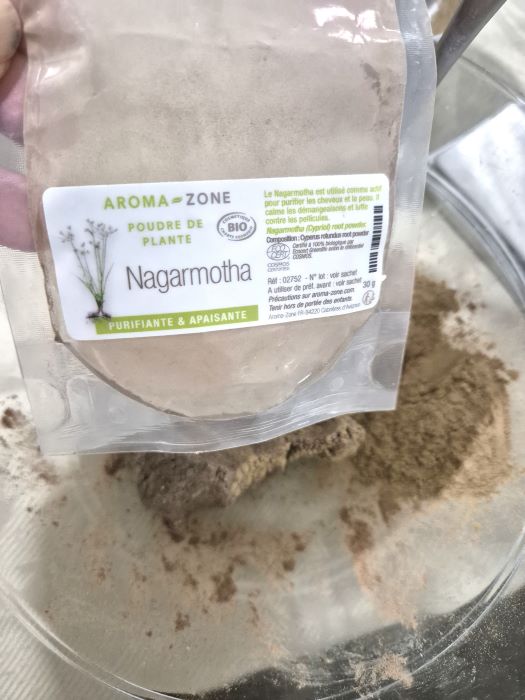
2. Ayurvedic Herbs for Scalp Health
If you love Ayurvedic hair care, you’ll know how powerful herbs can be for scalp and hair health. I used to clean my hair with Ayurvedic powders only, making a mix of Shikakai, Amla and other herbs. The results were amazing, my hair had never been so bright and full of life! But honestly, it became too much work. It took time to prepare the paste, let it sit for more than 15-20 minutes, and then rinse it out. Plus, it started clogging my water pipes, which was a huge problem! Incorporating these herbs into a shampoo bar, I can still enjoy their benefits in a more convenient way.
- Brahmi Powder – Soothes the scalp, fights dandruff, and strengthens hair.
- Nagarmotha Powder – Purifying and sebum-regulating, this herb also has a soft, spicy-woody scent that makes the shampoo bar extra luxurious. I love its natural fragrance, it brings a sense of calm and balance while washing my hair.
3. Nourishing Butters & Active Ingredients
A great shampoo doesn’t just clean, it also nourishes, protects your hair, and contains targeted actives for its intended purpose, such as soothing the scalp.
That’s why I included:
- Murumuru Butter – Rich in lauric acid, making it antimicrobial and protective against bacteria or fungi that can cause irritation or even hair loss.
- Sal Butter – A soothing, anti-inflammatory butter that calms the scalp while keeping hair soft and healthy.
- Zinc PCA – Regulates sebum production, reduces inflammation, and helps prevent bacterial overgrowth—perfect for greasy scalps.
- Aloe Vera Powder – A gentle, soothing ingredient that provides hydration and relieves itchiness.
- Keratin Protect – Strengthens, protects and smooths the hair cuticle, reducing breakage and adding shine. It’s from Aroma-Zone, you can replace it with any other similar active.
- Panthenol (Provitamin B5) – Deeply hydrates, soothes the scalp and improves hair elasticity for a healthier look.
4. Essential Oils for Balance & Stimulation
I love adding essential oils not just for their fragrance, but for their hair-loving properties!
- Rosemary Essential Oil – Known for its ability to stimulate circulation, promoting hair growth and scalp health.
- Cajeput Essential Oil – A gentler alternative to Tea Tree Oil, it’s antibacterial and great for regulating oil production without being too strong.
5. Long-Lasting & Mold-Free
Since shampoo bars get wet every time you use them, adding a preservative is essential to prevent microbial growth. I used Cosgard (Geogard 221), but you can use Isocida or another preservative.
DIY Solid Shampoo Bar Recipe
Ingredients (for 100g batch)
Phase A
- SCI (Sodium Cocoyl Isethionate) – 35%
- SLSA (Sodium Lauryl Sulfoacetate) – 35%
- Decyl Glucoside – 8%
- Nagarmotha Powder – 5%
- Brahmi Powder – 3.8%
Phase B
- Sal Butter – 3%
- Murumuru Butter – 2%
Phase C
- Keratin Protect – 3.6%
- Panthenol (Provitamin B5) – 2%
- Zinc PCA – 0.5%
- Aloe Vera Powder – 0.3%
- Rosemary Essential Oil – 0.5%
- Cajeput Essential Oil – 0.5%
- Cosgard (or another similar preservative) – 0.8%
How to Make Your Solid Shampoo Bar
Step 1: Prepare the Base
- In a heatproof container, combine all Phase A ingredients.
- Place the container over a double boiler (water bath) and stir until everything is well mixed. Remove from heat.
Step 2: Melt butters
- In the meanwhile, melt Phase B ingredients (Sal and Murumuru butters) in a water bath using a separate container. Once melted, remove from heat and add to Phase A, stirring.
Step 3: Incorporate Actives
- Let it cool slightly (below 50°C / 122°F).
- Add Phase C ingredients (Keratin Protect, Panthenol, Zinc PCA, Aloe Vera, Essential Oils and Preservative). Mix well.
- The pH should already be around 5. However, you can easily double-check it (see below for details on how to do this).
Step 4: Shape & Cure
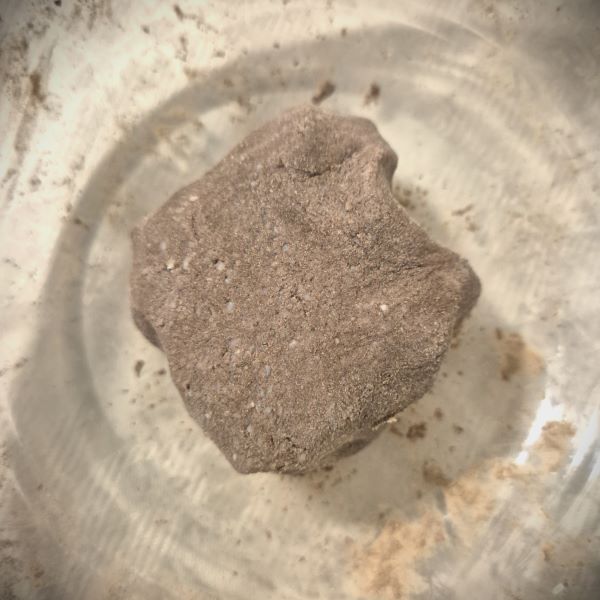
- Knead the mixture into a dough-like consistency. If too dry, add a few drops of water.
- Shape it into a bar with your hands or press it into a mold.
- If using a mold, place in the freezer for 3 hours to set, then unmold.
- Let it air dry for 2-3 days before use.
Checking & Adjusting pH
The pH of this shampoo bar should naturally be around 5, which is ideal for hair. However, if you want to double-check: Dissolve 1g of the shampoo paste in 9g of distilled water and measure the pH using strips or a digital pH meter. A pH of 4.5-5 helps maintain a healthy scalp and smooth hair cuticle!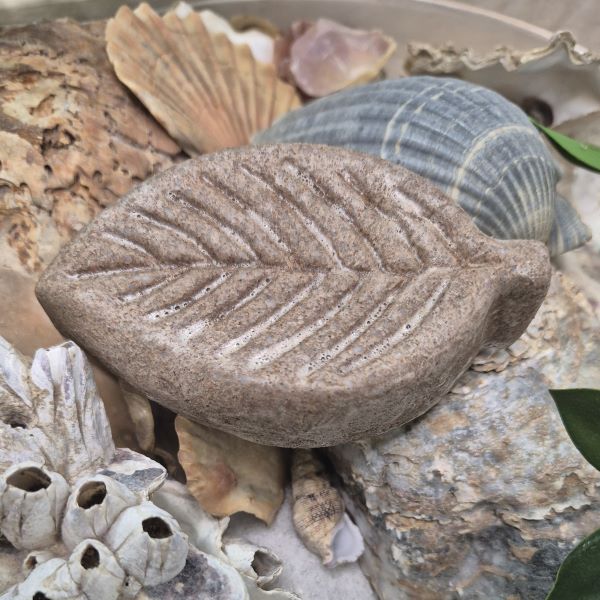
How to Use & Store Your Shampoo Bar
How to Use:
- Wet your hair and rub the shampoo bar directly onto your scalp.
- Massage into a rich lather, then rinse thoroughly.
- If your hair is very greasy, repeat the application.
- For extra shine, do a final rinse with diluted apple cider vinegar. This is a game-changer if you want super soft and shiny hair! I used to skip this step, but when you start doing vinegar rinses, your hair will become noticeably silkier!
How to Store:
- Keep your shampoo bar dry between uses by storing it in a soap dish or a tin box. Protect it from humidity to extend its lifespan.
Do you want more?
If you're interested in exploring more DIY shampoo bar recipes, I have another favorite that incorporates rice starch and murumuru butter. This combination offers a gentle cleanse while adding softness and shine to your hair. You can find the detailed recipe and step-by-step guide here! And for a retouch between a shampoo and another, try my quick but super effective dry shampoo recipe!